
Technique
Mastering Minimally
Invasive Esthetics
A Step-by-Step Guide
Let's Get Started!
You are about to transform your patient's smile by using ART (Additive-Reductive Template), a minimally invasive approach to Smile Design. With ART you and your patient will be able to preview the final restoration before the porcelain is fabricated. This step-by-step guide will assist you through the entire process, from the receipt of your ART design case, through the shipment of the final impression back to Robertson Dental Lab.

Design Review Legend
Reading the Strategic Prep Model
The ART Workflow
Ten Steps, Start to Finish
From the moment your ART case arrives to the final impression shipped back to the lab.
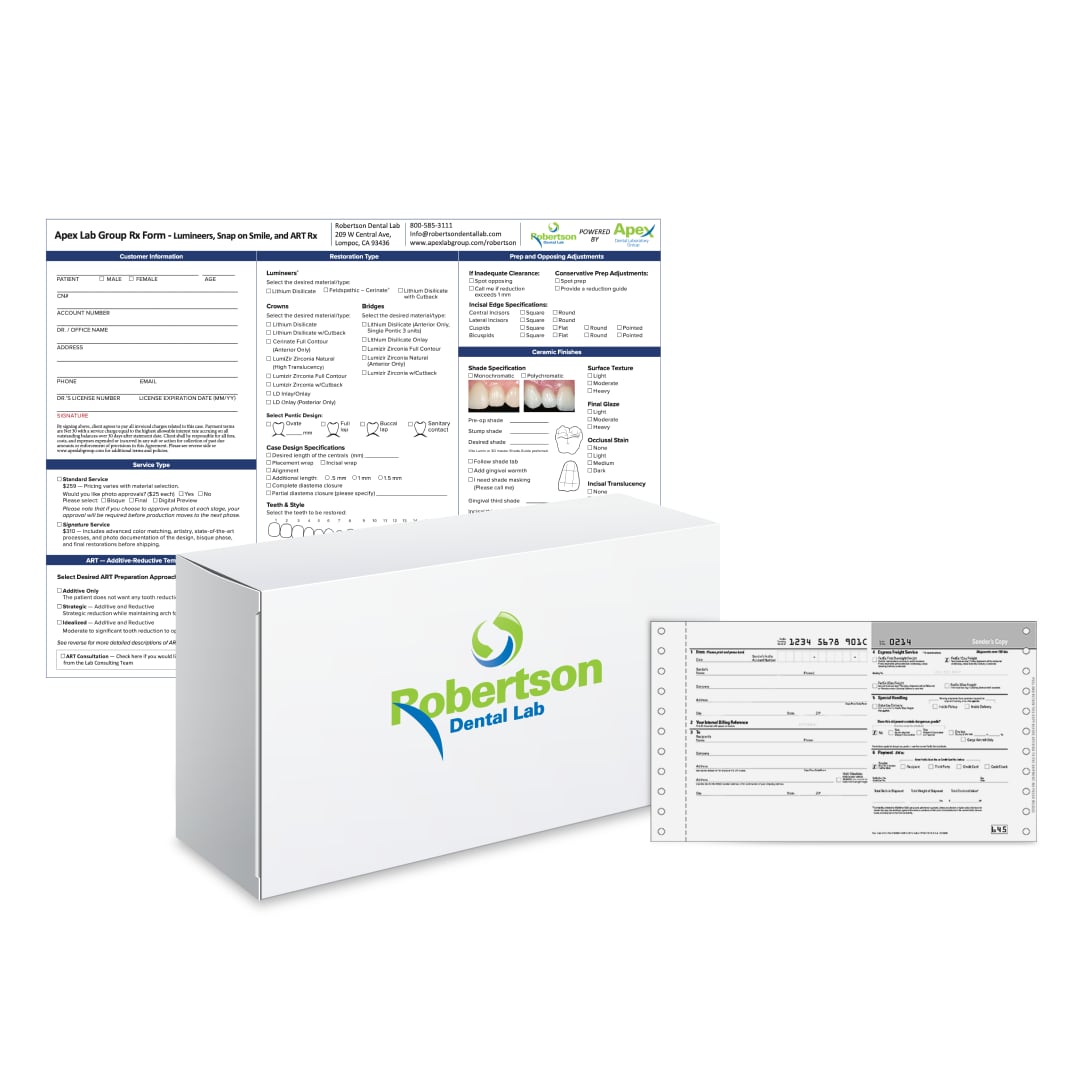
Lab Rx and Shipping
These are items required for shipping the lab case back to Robertson Dental Lab for production of the final restorations.
Unpack and Organize
Upon receipt of your ART lab case, familiarize yourself with the contents of the box. Review all of the case items and separate them between the lab communication/production items, and those items which you will use during your Patient Case Presentation.
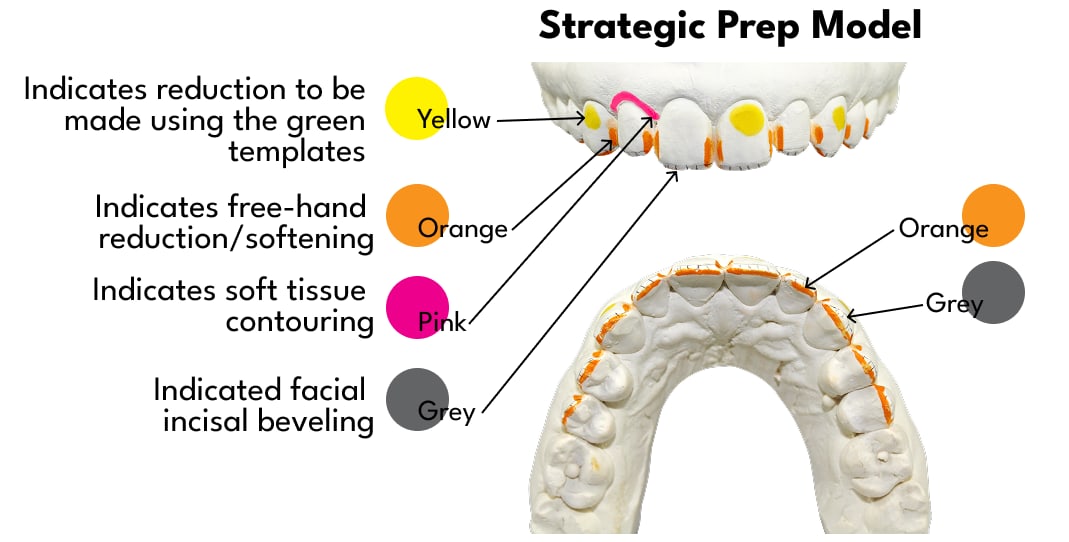
Color-coded Strategic Prep Model
Design Review
Review the case design as shown on the Waxed Model. If the case design calls for any changes to the patient's existing dentition, these changes will be illustrated on the color-coded Strategic Prep Model. Because ART is a minimally invasive approach, in most cases, adjustments to existing dentition are generally limited to enamel only. The color-coded Strategic Prep Model will indicate all required modifications or contouring to achieve the design shown on the Waxed Model.
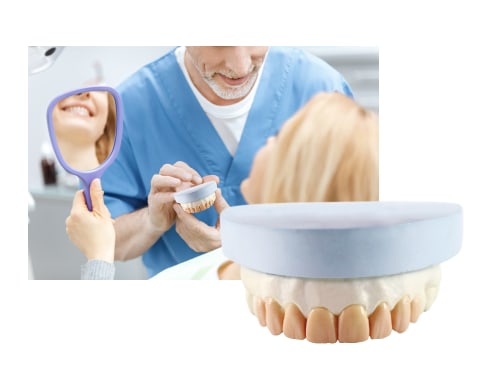
Presenting the waxed model to the patient
The Patient Appointment
Present the custom Waxed Model to the patient. The design is intended to deliver maximum esthetics with a minimally invasive approach. Ensure that the design meets your patient's expectation for their new smile. If applicable, explain to the patient that you will be making some minor adjustments and or contouring to their existing dentition, in order to accommodate the restorations. Unlike a traditional preparation for veneers, in most Lumineers® ART cases, modifications will be limited to enamel, thereby maintaining healthy tooth structure. You can utilize the color-coded Strategic Prep Model to communicate this to the patient.
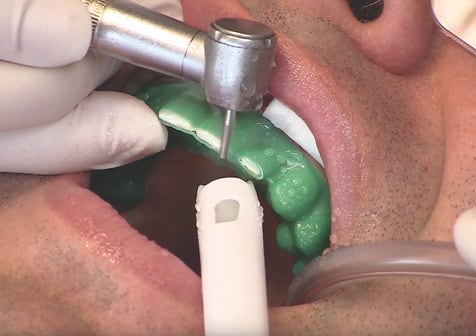
Contouring the dentition with the green ART templates
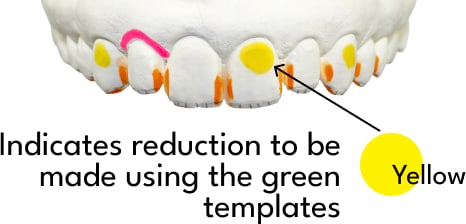
Strategic minimal reduction using the green ART templates
Contouring and Adjustments
If applicable, use the green ART templates to contour or adjust the dentition. Ensure that you are utilizing the templates in the numbered sequential order, following the color-key illustrated for the Strategic Prep Model (see Step 2 Design Review).
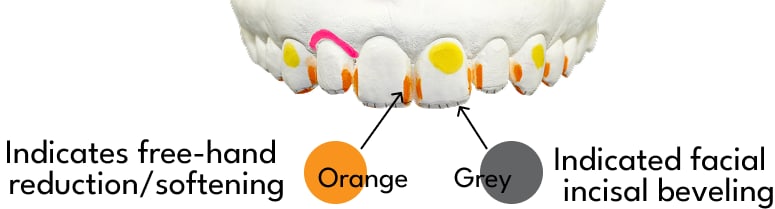
Strategic Prep Model showing free-hand softening areas
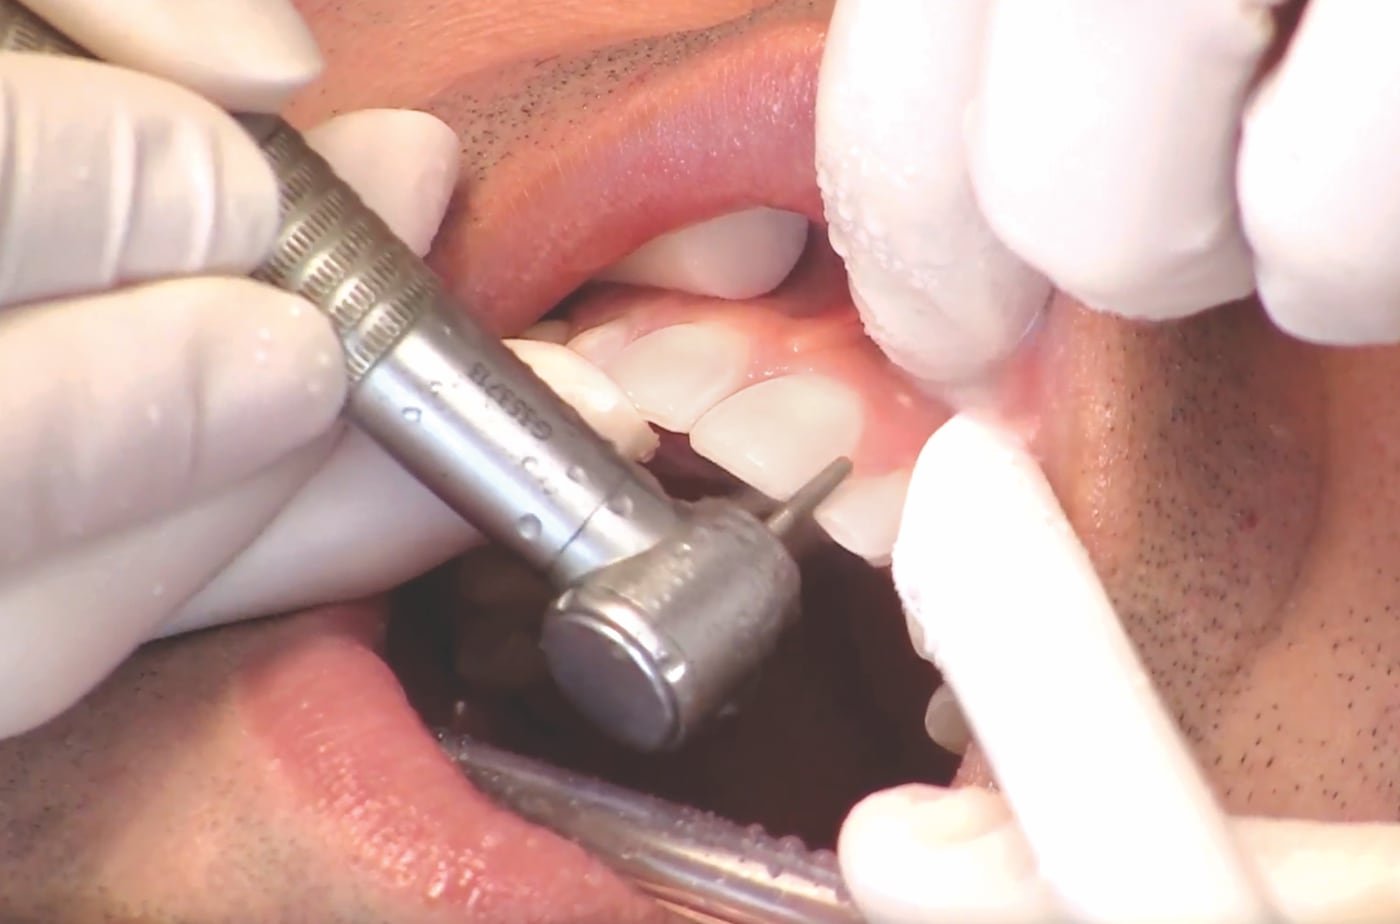
Free-hand softening of reduced areas
Accurate free-hand softening is needed to minimize sharp line angles and chance for stress fractures.
Final Adjustments & Softening
Adjustments made with the green ART templates will result in ledges, sharp corners, and angles on the teeth. As illustrated in orange on the color-coded Strategic Prep Model, remove these by using a free-hand prep technique. The final adjustments are meant to be a “softening” of the areas where reduction was performed in addition to the rounding and rolling of the embrasures, if needed. In some cases, a beveling of the facial incisal area is required. If so, this would be indicated on the Strategic Prep Model in grey-colored lines.
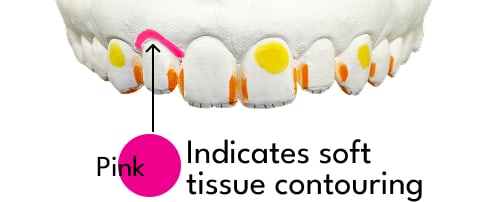
Soft tissue contouring with a diode laser
Soft tissue contouring will ensure optimal esthetics.
Gingival Reshaping (if applicable)
In some cases, gingival reshaping is required in order to achieve a symmetrical result. If needed, follow the color-coded Strategic Prep Guide model and contour the soft tissue where applicable, using a soft tissue diode laser such as the NV® PRO3 or the SOL® laser by DenMat. A soft tissue laser will allow for immediate impressions to be taken because the tissue should demonstrate minimal to no tissue damage and no bleeding. Do not attempt to take impressions if the tissue is hemorrhaged and or bleeding, as this will create distortion.
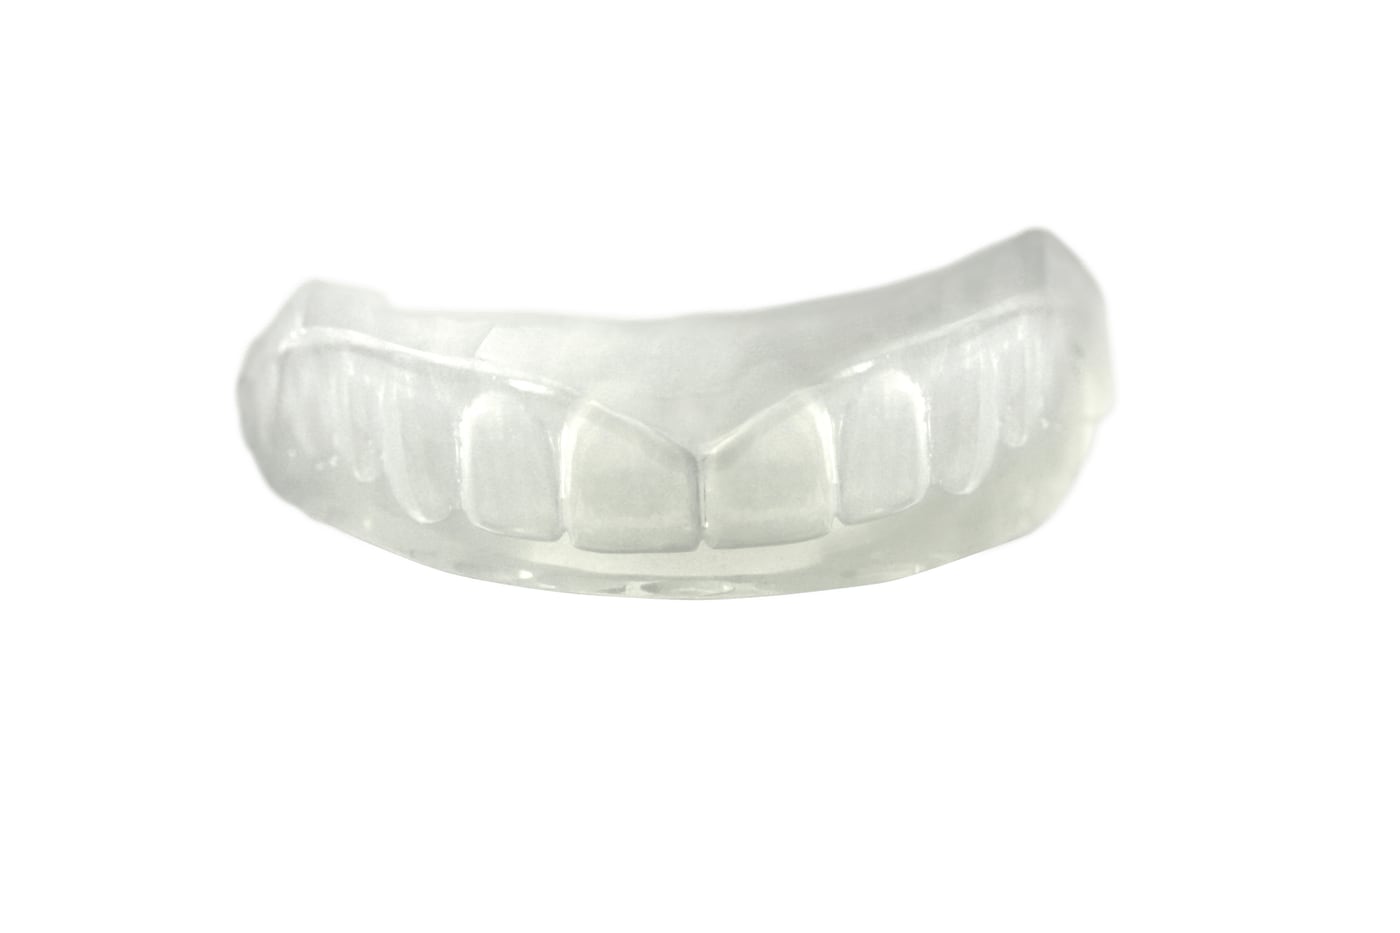
Ultra-clear Trial Smile matrix
Ultra-clear Trial Smile matrix provides visual placement and ensures accuracy.
Trial Smile
You are now ready to create the Trial Smile.
- 1Use the clear Trial Smile Matrix provided and fill with PerfecTemp10® by DenMat, or any high-end provisional material. When filling the Matrix, start at one end and extrude the material along the facial one-half of each tooth, keeping the delivery tip submerged to insure each tooth space is covered.
- 2Dry teeth, and immediately seat the filled Matrix and hold in place over the prepared teeth.
- 3If using PerfectTemp10, allow the material to cure for 2 to 2-1/2 minutes in the mouth, or as otherwise directed by the material manufacturer's instructions. Remove the Matrix and allow full polymerization of the material before polishing or contouring.
- 4Clean and polish the Trial Smile.
Reviewing the Trial Smile in place
The Trial Smile adjustment is a checkpoint for patient and doctor acceptance. At this point, any/all changes must be communicated to the laboratory for best results.
Trial Smile Review
Now you have the opportunity for both you and your patient to review the Trial Smile in place. Patient approval and acceptance starts now! Most patients will love the design, leaving only your clinical review to complete the approval process. If any changes to the Trial Smile are desired, you can do so using a 16 long fine fluted yellow striped burr. These changes could include length, anatomy or incisal edge adjustments. Once the new smile meets all esthetic expectations of your patient, continue to the clinical review steps below.
- Check all facial areas of the Trial Smile to insure there is no tooth shine-through, which would indicate additional tooth contouring is needed in order to prevent thin spots.
- Ensure there are no occlusal interferences and that there is adequate incisal/occlusal clearance for restorations.
Before you remove the Trial Smile for final impressions, now is the time to record any changes to the Trial Smile by doing the following:
- 1Make a Study Model by taking an impression and immediately pouring a model of the approved Trial Smile.
- 2Take unrestricted full face and lateral photos.
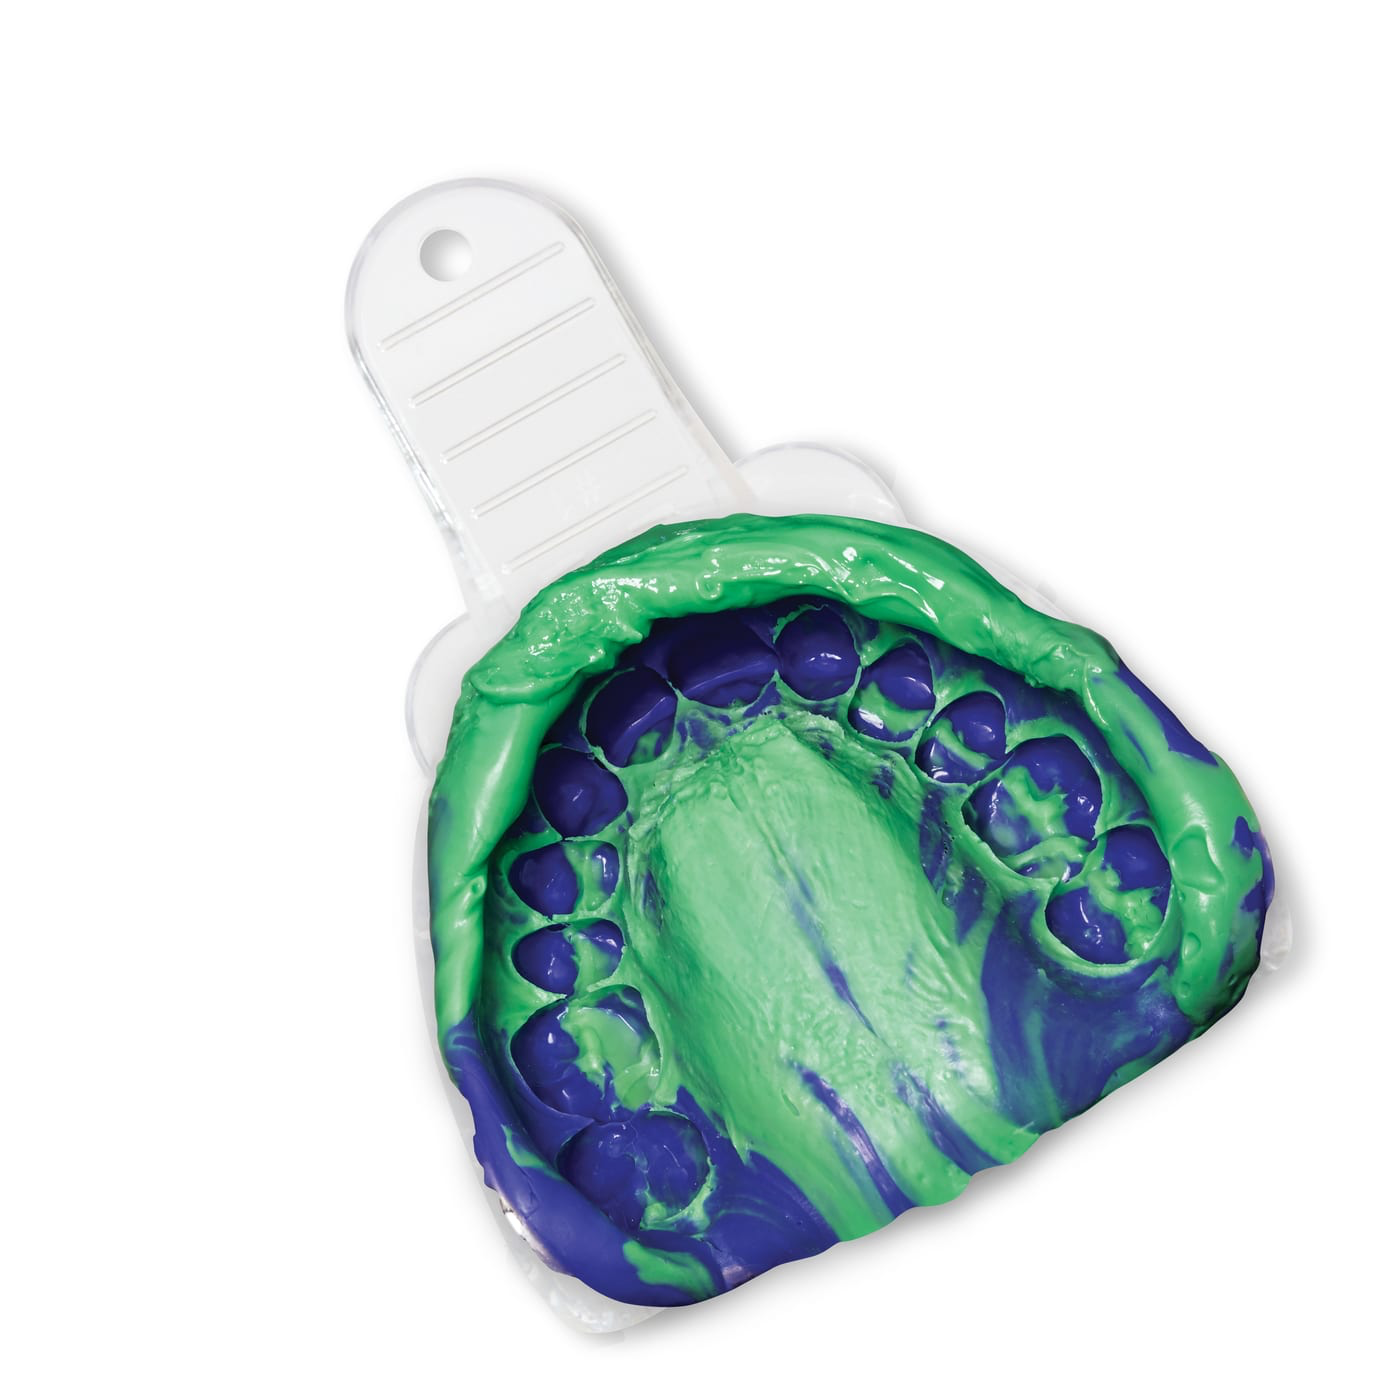
Final VPS impression in tray
Final Impressions / Records
Carefully remove the Trial Smile from the mouth and take final impressions of the prepared teeth using SplashMax® Heavy and Light Body 4:30 set or any high-end 4-minute vinyl polisiloxane impression material. You can also choose to e-mail digital scans to info@robertsondentallab.com.
Next use Vanilla Bite® from DenMat or any high-quality bite registration material to provide a bite registration (no wax bites) to the DenMat Lab.
Now you are ready to submit your case for fabrication of the restorations!
Provisionalized Trial Smile
Trial Smile Provisionalization (optional)
If you plan for your patient to wear the Trial Smile while the final lab work is being produced, you can bond the provisionals in place by following these steps:
- 1Scrub teeth with chlorhexidine, rinse and dry.
- 2Polish teeth with DenMat Porcelain Polishing Paste.
- 3Rinse and dry.
- 4Spot-etch the teeth by applying Etch 'N' Seal® for 20 seconds with microbrush using the etching pattern shown.
- 5Apply a bonding agent such as Tenure® A and B using micro sponge on etched areas. (Important to dry towards the incisal.)
- 6Apply one coat Tenure® S bond enhancer; dry towards the incisal edge and light cure.
- 7Place the Trial Smile (see Step 7).
- 8Use interproximal fine diamond (mosquito) to refine the margins along interproximal.
- 9Use interproximal fine diamond (mosquito) in interproximal margins and facial margins.
- 10Use football-shaped diamonds on the lingual to finish the incisal wrap and adjust high spots or length.
- 11After cleaning up extra flash of composite, polish and apply Gloss-N-Seal and light cure.
Before You Ship
Shipping Check List
An Apex Network Lab